Building a 3D level out of 2D tiles is a small niche with few tools. You take a tileset you already have, place its tiles on faces in 3D space and get a low-poly level that keeps its pixels. Crocotile 3D is the tool most people name for it. This post looks at what it does well and at four other ways to do the job, so you can choose by what your project needs. Prices and features come from each tool's own page, read in November 2026.
What Crocotile 3D does well
Crocotile 3D is a desktop program for Windows, Mac and Linux, made for exactly this job. It has draw and edit modes for tiles in 3D space, perspective and orthographic views, and lights and shadows. It also goes well past placing tiles, with animation, movie rendering, skinning and rigging. It imports FBX, glTF, GLB, DAE and OBJ, and it exports OBJ, glTF, GLB and DAE.
A registration code costs $29.99. You can download it and try it first, but you can't save or export until you enter a code. For a project with animated tile characters, it is the most complete option here.
People look for something else for plain reasons: they want to export before they pay, they work on a computer where they can't install software, or they already have another tool in their pipeline.
Sprytile: tiles inside Blender
Sprytile is a free add-on under the MIT licence that builds tile meshes inside Blender. You can construct a mesh directly from tiles with no manual UV mapping, or model with Blender's other tools and paint tiles onto the result. Pixel grid tools keep the geometry aligned.
If you already know Blender, this is the strongest choice for modelling, because every other Blender tool stays in reach. The catch is its age. The GitHub project describes itself as an unofficial port for Blender 2.8, and AlternativeTo lists the add-on as discontinued, so check it against your Blender version before you plan around it.
Blockbench: a free low-poly editor without tiles
Blockbench is free and open source, and it has a web app. It is a general low-poly editor: you paint textures directly on the model or in a 2D editor. Its page doesn't mention placing tiles, so you paint rather than stamp.
That makes it very good for a single prop or character you want to texture by hand, and it costs nothing to try. For a whole level that reuses an existing tileset, every face means more hand work.
Godot's GridMap: assemble pieces in the engine
If your game is in Godot, GridMap places 3D meshes on a grid, much as a tilemap does in 2D. It reads a MeshLibrary you export from a scene, and each piece can carry its own collision shapes and navigation. None of the modelling tools in this list gives you that inside the engine.
GridMap doesn't make the pieces, though. You still need a mesh for each kind of block, from somewhere. It combines well with any tile modeler: build a wall, a floor and a corner, then assemble the level in Godot.
Tile Modeler: the same job in a browser
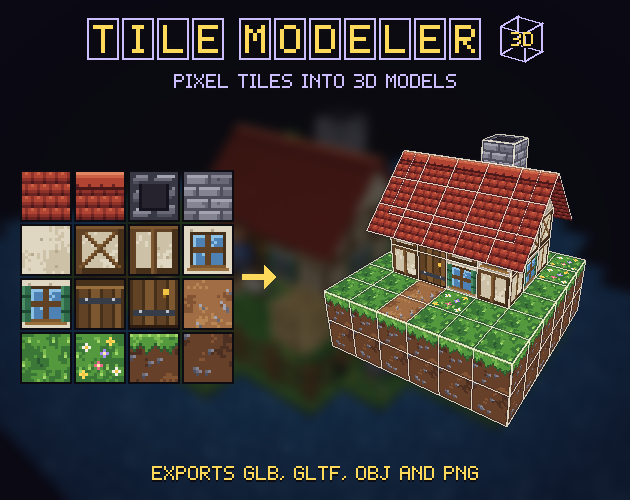
Tile Modeler is our own tool, so weigh this section accordingly. It runs in the browser with nothing to install. You draw tiles on any plane, stack blocks, drag corners into slopes and roofs, add billboard sprites and stamp reusable prefabs. Any PNG works as a tileset, and one model can use several.
It exports GLB, glTF and OBJ with nearest-pixel sampling and alpha cut-out, and it can bake shading into vertex colours. Each group of faces becomes its own mesh, which helps when you want a door or a roof to move in your engine. The free edition saves and exports up to 200 tiles. Gridwright Studio removes that limit.
It has no rigging, skinning, animation or movie rendering, and it can't import other 3D models. Crocotile 3D does all of those. Tile Modeler is for levels and props; if your characters are rigged tile models, Crocotile 3D is the better pick.
How to choose
- Animated or rigged tile models: Crocotile 3D.
- You live in Blender and your version runs it: Sprytile.
- One prop or character painted by hand: Blockbench.
- A Godot game where you already have the meshes and need collision on each piece: GridMap.
- Levels and props from a tileset you already own, on any computer, starting today: Tile Modeler.
Keep the pixels sharp, whichever you pick
Most of what makes these levels look wrong happens after the export, and the fixes are the same in every tool:
- Set texture filtering to nearest or point and turn off mipmaps. In Unity that is Filter Mode: Point; in Blender, the image texture's Closest interpolation.
- Keep one tile size per model, so a pixel is the same size on every face.
- Cut out see-through pixels with an alpha mask. Blended transparency causes sorting errors between faces.
- Agree on a scale early. One tile as one metre is a simple start, and changing it later means moving every light and collider.
- Bring the first room into your engine before you build the tenth. Problems with scale, normals or materials are cheap to fix at that point.
Which tiles to start with
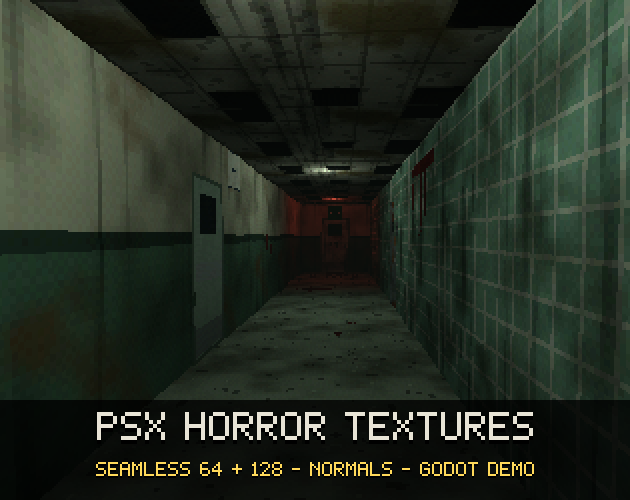
Square tilesets with plain walls and floors work best, because a tile that looks fine from above also has to read as a wall. Our Top-Down Tileset is a simple place to start. For a PS1 look, PSX Horror Textures is drawn for 3D from the start, and PSX style textures in Godot 4 covers the engine settings.
For the whole process from tileset to engine, with slopes, roofs and billboards step by step, read pixel art 3D models from tiles.
Gridwright packs can be used in commercial games; you may not resell the files themselves. Packs released from October 28, 2026 ask for a credit: “Art by Gridwright” with a link (each pack’s LICENSE.txt says which applies). More in can I use game assets in a commercial game.