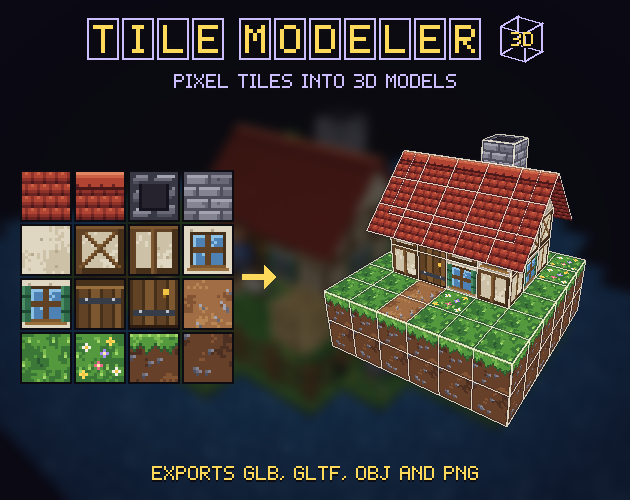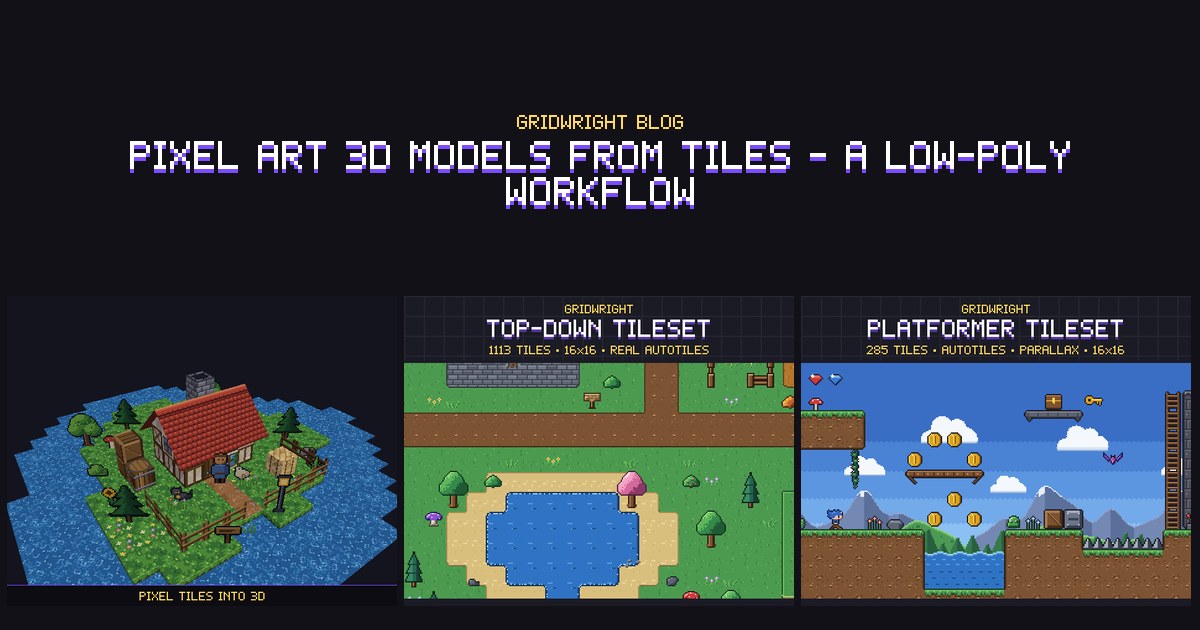
A pixel art game does not have to stay flat. Many indie games now build their worlds out of 3D shapes covered in pixel art tiles: a house is a box of wall tiles with a sloped roof, a dungeon is a floor and four walls of brick, a tree is a flat picture that turns to face the camera. The result keeps the crisp look of a 2D tileset and gains a camera that can orbit, zoom and light the scene.
This guide walks through that workflow from the tileset to a model in your engine: how to pick tiles that work in 3D, how to build with planes and blocks, how to make slopes and roofs, when to use billboards, and how to export so the pixels stay sharp.
Why build 3D models out of tiles
Tile-based modelling works like a 2D tilemap editor with one more axis. Every face of the model is one tile from your tileset, placed on a grid. That gives you three things a sculpted low-poly model does not:
- Speed: you click tiles into place instead of unwrapping UVs. A small house takes minutes.
- Consistency: every face uses the same pixel size, so the whole scene reads as one art style.
- Reuse: the same tileset feeds your 2D maps and your 3D levels, and a new version of the tileset updates every model that uses it.
The models stay light, too. A face is two triangles, and a whole cottage with its yard is a few hundred faces.
Pick a tileset that works in 3D
Any square tileset can be used, but some tiles work much better on a 3D face than others. Look for these before you start:
- Tops and sides that meet: a grass top tile and a grass side tile whose edges match, so a block of ground looks like one piece.
- Walls that repeat in every direction: brick, plaster, planks and stone that tile left, right, up and down without a seam.
- Two-tile doors and windows: a door top and a door bottom that stack on a wall two tiles high.
- Props with matching faces: a crate side and a crate top, a barrel side and a barrel top.
- See-through sprites: trees, bushes, torches and characters drawn on a transparent background, for billboards.
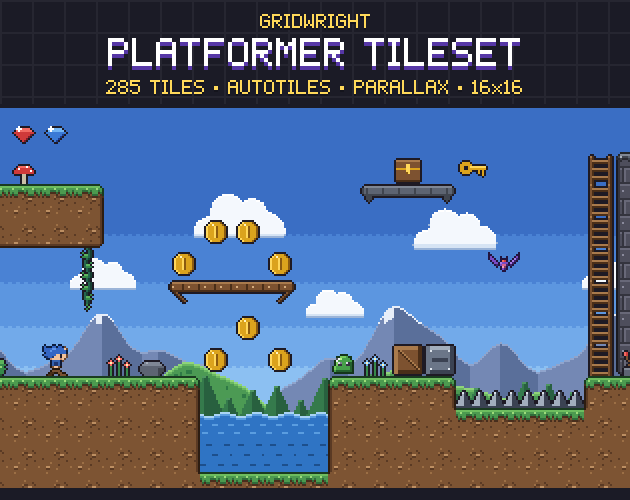
A 16x16 tileset is a good start: tiles are big enough to read on a wall and small enough to keep the retro look. Our Top-Down Tileset and Platformer Tileset work as 3D tiles too, and the Gridwright Tile Modeler comes with a 16x16 starter tileset of 116 tiles drawn for 3D faces. For more on tile sizes, see how to choose a pixel art tile size.
Build with planes and blocks
There are two ways to put tiles into a 3D scene, and a good model uses both.
Planes are single tiles on a flat surface. You choose a facing (floor, ceiling or one of the four walls), set how far along that axis the plane sits, and draw tiles on it like on a 2D map. A floor is one plane, a wall standing on the edge of that floor is another. Planes are best for rooms, terrain surfaces, signs and anything thin.
Blocks are cubes with a tile on every face, like a voxel builder. You click the face of an existing block and a new block appears against it. Blocks are best for ground, cliffs, towers and stacked crates. When two blocks touch, the faces between them can never be seen, so a good editor drops them and your model keeps only its outside.
- Start with the ground as blocks: a grass top, grass sides and a dirt bottom.
- Draw the walls as planes standing on the ground, one tile at a time or as a rectangle.
- Put doors and windows on the walls by repainting single wall tiles.
- Use a random brush for large surfaces: scattering three grass tiles, with random turns, hides the repeat.
Slopes, roofs and ramps
Grids give you boxes. Slopes come from moving corners. Select the top corners along one edge of a block or a row of floor tiles and move them down: the tiles between become a ramp. Do the same on two sides of a long box and you have a pitched roof; fill the triangle under each end with a wall tile whose top corners meet in one point.
Keep slopes at whole steps where you can, such as one tile up over one or two tiles across. The pixels on a slope are stretched along its length, and simple ratios keep that stretch even. Roof tiles with a ridge on their top edge make the top row of a roof read clearly.
Billboards for trees and characters
A billboard is a single picture that turns to face the camera. It is the classic way to put pixel art trees, bushes, torches and characters into a 3D scene without modelling them. Two kinds are common:
- Y-axis billboards turn around their vertical axis only, so they stay upright: right for trees, people and lamp posts.
- Full billboards also tilt towards a camera looking down: right for particles and pickups.
In Godot 4, select the billboard's material and set its Billboard Mode to Y-Billboard. Place the billboard's origin at its foot, so it stands on the ground while it turns.
Export so the pixels stay sharp
The most common surprise after exporting is blurry pixels. Engines smooth textures by default; pixel art needs nearest (point) filtering and no mipmaps. glTF 2.0 can carry that choice in the file itself: its sampler can say nearest for both magnification and minification. When the exporter writes it, Godot 4 imports the materials with nearest filtering on its own; we checked this with the Tile Modeler's GLB export in Godot 4.7.
- Export GLB (binary glTF) for Godot, Unity (with a glTF importer), Unreal, Blender and three.js.
- Use alpha mask (cut-out) for see-through tiles such as fences, leaves and windows, not alpha blending, so they sort correctly.
- Keep one material per tileset and one mesh per part of the model you want to move or hide in the engine.
- If your tool exports OBJ instead, set the texture filter to nearest or point in the engine after importing.
Scale is the other setting to decide once. One tile as one metre is easy to reason about in Godot and Unity; one pixel as one unit keeps sizes in pixels. Pick one and keep it for every model in the game.
A simple workflow to copy
- Sketch the scene on a 2D grid first: footprint, heights, where doors and windows go.
- Block out the ground and big shapes with blocks.
- Add walls as planes, then doors, windows and decals such as torches and signs.
- Bend corners for roofs and ramps.
- Scatter billboards for plants, props and characters.
- Export GLB, drop it into the engine and check the filtering and the scale on the first model.
The Gridwright Tile Modeler does all of this in the browser, offline, and has a free demo that saves and exports models up to 200 tiles. Whatever tool you use, the tileset matters most: tops and sides that meet, walls that repeat and sprites with clean transparent edges. Models you make from our tiles can go into commercial games; see can I use game assets in a commercial game.