A side-scroller with a flat, still sky feels like a stage set. Add a few background layers that slide past at different speeds and the same level suddenly has depth: mountains far away, hills closer, trees right behind the player. That trick is parallax scrolling, and it is one of the cheapest ways to make a 2D game look finished. This guide covers how many layers you need, how fast each one should move, how to make them repeat without a visible seam, and how to set them up in Godot 4 and other engines.
What parallax actually does
When you walk past a fence, it rushes by; the hills behind it barely move and the moon does not move at all. Parallax copies that. Each background layer gets a factor between 0 and 1. A layer with factor 0 stays fixed on the screen, like the sky. A layer with factor 1 moves exactly with the camera, like the level itself. Everything in between moves at a fraction of the camera's speed, and the eye reads the slower layers as further away.
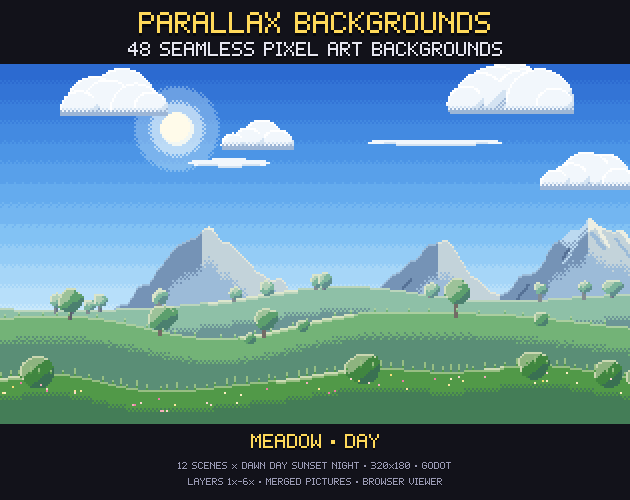
In code it is one line per layer: the layer's x position on screen is the camera's x times the factor, wrapped to the width of the layer image. Our Parallax Backgrounds ship that factor for every layer in a JSON file, so you do not have to guess.
How many layers and which speeds
Five to seven layers is the usual sweet spot. Fewer and the depth looks thin; many more and the layers start to blur into each other without adding much. A typical stack from back to front looks like this:
- Sky: factor 0. A gradient with the sun or moon. It never moves.
- Clouds: a very small factor such as 0.04, plus a slow drift of a few pixels per second so the sky feels alive even when the player stands still.
- Far layer: about 0.06 to 0.1. Distant mountains, a skyline, a volcano.
- Middle layer: about 0.2 to 0.35. Hills, a castle on its hill, rows of buildings.
- Near layer: about 0.45 to 0.6. Trees, rooftops, dunes with cacti.
- Front layer: about 0.8 to 0.85. Bushes, a fence or rocks right behind the play area, still slower than the level.
The exact numbers matter less than the spacing. Keep each layer clearly slower than the one in front of it, and keep the front layer below 1 so it never moves faster than the ground the player walks on. If a layer sits in front of the gameplay (leaves or posts that pass in front of the player), it can go above 1, but use that sparingly because it covers the action.
Make the depth read in colour too
Speed alone is not enough if every layer has the same contrast. Far things look lighter and closer to the colour of the sky, because there is more air between you and them. So fade the far layers towards the horizon colour and keep the near layers darker and more saturated. A low sun helps: put a light rim on the side of each shape that faces it. When the layers then move at different speeds, they separate cleanly instead of turning into one busy pattern.
This is also why a set of backgrounds in four times of day is useful. The same scene at dawn, day, sunset and night lets a level change mood without changing art style, and a night version with lit windows tells the player that time has passed.
Seamless loops: the part that breaks most often
A layer has to repeat forever, so its right edge must continue straight into its left edge. If a mountain or a cloud is cut at the border, the player sees a vertical seam every time the image wraps. Three habits prevent it:
- Draw every shape so it wraps: anything that crosses the right edge comes back in on the left.
- Make layers wider than the screen. A 640 pixel layer behind a 320 pixel view repeats once every two screens, so the near layers do not show the same tree twice at once.
- Check the seam on purpose: place two copies side by side and scroll across the join, at the scale your game uses.
Every layer in our parallax pack is 640x180 at 1x behind a 320x180 view, and the build compares the wrap seam of every layer with its inside columns, so a cut shape would stop the release.
Pick a resolution and scale by whole numbers
Pixel art backgrounds stay sharp only when they are scaled by whole numbers with nearest-neighbour filtering. A 320x180 view is a good base for 16x16 tiles: it is 20 tiles wide and scales exactly to 1280x720 at 4x and 1920x1080 at 6x. If your camera also moves up and down, either keep the background layers still vertically or make sure the view is never taller than the layers, otherwise the bottom of the sky shows a gap.
Setting it up in Godot 4
Godot 4 has a node for exactly this job, Parallax2D. Put one Parallax2D per layer under your level and a Sprite2D with the layer image inside it. Then set three properties:
- scroll_scale: the layer's factor. Godot's docs describe it as a multiplier that simulates distance from the camera: 1 scrolls at camera speed and 0 stops the node.
- repeat_size: the width of the layer image on x (and 0 on y). The texture then repeats every that many pixels.
- autoscroll: a velocity in pixels per second, for clouds and mist that drift on their own.
Use nearest filtering and a viewport stretch mode so the pixels stay crisp. The parallax pack includes a ready Parallax2D scene for every one of its 48 backgrounds with these values filled in, plus a small demo project; all scenes were loaded in Godot 4.7.2 before release.
Unity, GameMaker and everything else
In Unity, import the layers with Point filtering and Repeat wrap mode, use a tiled Sprite Renderer per layer and move each one with a short script: x equals the camera's x times one minus the factor, stepped back by one tile width whenever it falls a whole tile behind. In GameMaker, give each layer its own background layer with horizontal tiling and update its x the same way every step. Any other engine works from the same numbers: file, factor, drift, frames and draw order.
Put it together with tiles and a character
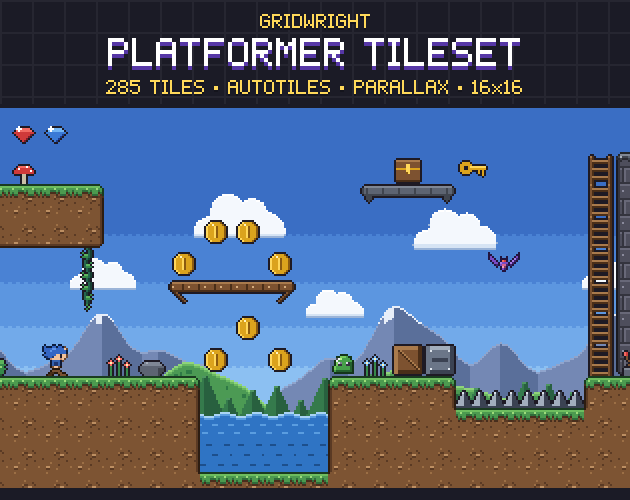
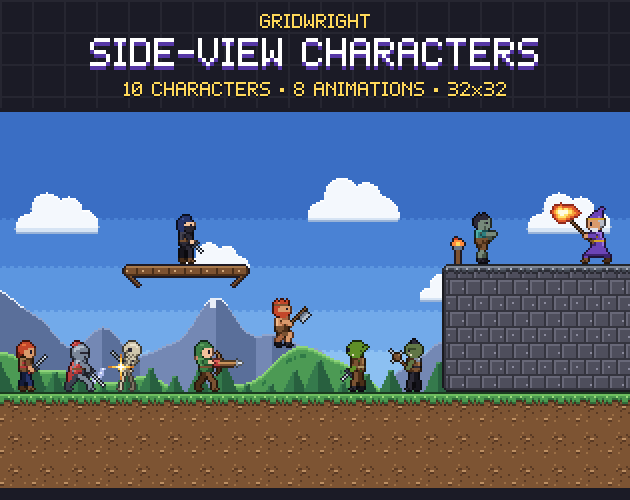
A background only sells the illusion once something stands in front of it. Our Platformer Tileset gives you 16x16 ground with autotiles, platforms and props, and the Side-View Characters give you a runner to scroll the camera with. With the background's slowest layer far behind and the tiles at factor 1, the scene gets real depth in a few minutes. If you are choosing tiles first, this guide to tilesets covers grid sizes and autotiles.
Gridwright packs can be used in commercial games; you may not resell the files themselves. Packs released from October 28, 2026 ask for a credit: “Art by Gridwright” with a link (each pack’s LICENSE.txt says which applies). The details are in can I use game assets in a commercial game.