A modular character is a sprite built from parts: a body, then hair, clothes, armour, a helmet and something in the hands, each drawn as its own sheet and stacked at runtime or ahead of time. It is how RPGs give players a character creator, how strategy games dress a hundred soldiers from a few pieces, and how small teams get many different NPCs without drawing each one.
The idea is simple. The details are where most layered kits break: a hat that floats in the back view, a shield drawn over the face, a sword that vanishes in one direction. This guide walks through what makes a layered character work in pixel art and gives a checklist you can use on your own kit or on one you are about to buy.
What a layer is
A layer is a sprite sheet with exactly the same size, grid and frame order as the body sheet, transparent everywhere except the pixels of its own piece. Draw the body first, then each layer on top in a fixed order, frame by frame, and you get a dressed character. Because every layer uses the same cell, the same feet point and the same columns for every animation, one frame index picks the matching frame from every sheet.
That shared grid is the whole contract. If one layer has a walk cycle of 8 frames and another has 6, or one is offset by a pixel, the character falls apart in motion. Good kits ship a JSON that says where each animation starts, how many frames it has, its speed and whether it loops, so the engine never has to guess.
The draw order problem
In a front view the order is easy: body, legs, chest, hair, helmet, weapon. Turn the character round and it changes. From behind, a cape should cover the back of the armour, long hair should lie over the cape, and a sword in the right hand may now be behind the body. Kits handle this in three common ways:
- A different layer order per direction. It works, but your engine code has to switch orders whenever the character turns, and it still breaks when an arm swings across the body mid-animation.
- Separate front and back pieces for the same item (a hood drawn as a back part and a front part). More files, and every new item needs both.
- Layers cut against the body they are worn on. Each layer is drawn with the body in place, and only its visible pixels are kept, so the body itself hides what is behind it. One order then works in every direction and every frame.
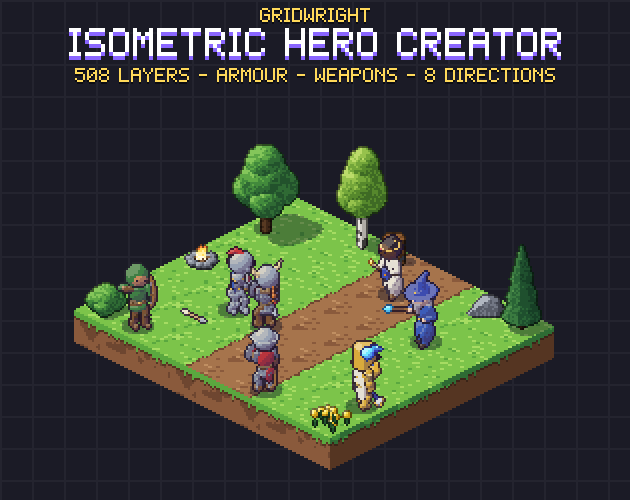
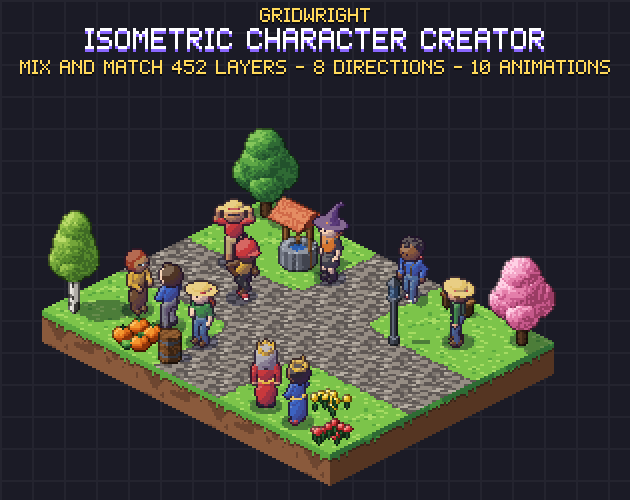
Our Isometric Hero Creator and Isometric Character Creator use the third way: every layer was cut against the 3D body it is worn on, so the same order holds in all 8 directions with no extra back versions.
Weapons and shields: one layer, not two
Held items are the hardest part. A sword in the right hand and a shield on the left arm cross each other during an attack: in some directions the shield should cover the sword, in others the sword passes in front of the shield. If they are separate layers in a fixed order, one of those cases is always wrong.
The fix is to treat everything held in the hands as one weapon set: sword and round shield, mace and kite shield, wand and tome. The set is drawn as one layer, so the two items cover each other correctly in every frame. It also makes the animation match explicit. A bow needs a draw and release, a spear a thrust, a staff a cast, a shield a block, so each set should list the attacks it was drawn for.
For gameplay you also want numbers, not just pictures: the frame where a melee hit lands, the frame where an arrow or a bolt leaves, and the pixel it leaves from in each direction. Put them in the same JSON as the animations, so your hit boxes and projectiles line up with the art instead of being tuned by eye.
Colours: variants or palette swaps
You can ship colour variants as separate files (a red, a blue and a green cloak) or ship one file and swap its palette in a shader. Separate files are simpler to use in any engine and in tools that read plain PNGs; palette swaps save memory when you have many colours. Either way, keep the shading consistent: every material should use the same number of tones and the same light direction, or a gold helmet will look like it belongs to another game.
One more pixel art rule makes stacking exact: every pixel should be fully opaque or fully transparent. Then plain alpha blending, or simply drawing the layers one after another, gives exactly the intended character with no halos at the edges.
Compose at runtime or ahead of time
There are two ways to use the layers in a game, and many projects use both.
- At runtime: a parent node with one sprite per layer as children, all playing the same animation and frame. In Godot, children draw in tree order, so the last child is on top; in Unity, give each sprite renderer a higher order in layer than the one below it. This is the way for a character creator the player edits.
- Ahead of time: a script stacks the chosen layers into one sheet per animation, and the game loads that like any other sprite sheet. This is the way for NPCs, enemies and soldiers whose look never changes, and it costs nothing extra at runtime.
Both of our creator packs ship compose.py for the second way: give it a recipe (a body, a list of layers and their colours) and it writes one sheet per animation at any scale. If you import sheets into Godot, our guide to importing pixel art sprite sheets into Godot 4 covers the filter and slicing settings.
A checklist for a layered character kit
- Every layer has the same cell size, feet point, rows and columns as the body.
- Every animation has the same frame count in every layer, and a JSON says where it starts, its speed and whether it loops.
- One draw order works in every direction, or the kit says exactly when to change it.
- Items held in both hands are one layer, and each set lists the attacks it fits.
- Hit frames and projectile spawn points are in the data, per direction.
- Pixels are fully opaque or empty, so stacking is exact.
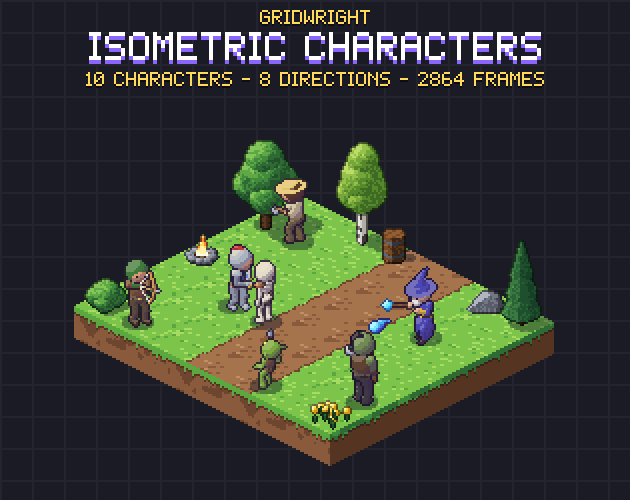
- A ready-made set of characters shows that the pieces really fit together.
- The 7 free days of Gridwright Studio let you test the whole workflow in your engine before you pay.
Mixing kits
Layers only stack with layers made for the same body, but whole characters can share a world. Our hero and villager creators use the same rig, cells and feet point as Isometric Characters, so armoured heroes, townsfolk and the original ten characters stand side by side on the same 32x16 isometric grid. You can also place them on a map in the Isometric Builder and export the scene to Godot or Tiled.
Whatever kit you use, check its licence before you ship. Gridwright packs can be used in commercial games; you may not resell the files themselves. Packs released from October 28, 2026 ask for a credit: “Art by Gridwright” with a link (each pack’s LICENSE.txt says which applies). More on that in can I use game assets in a commercial game.