A post-apocalyptic map has a harder job than most game maps. It has to show two places at once: the city that was there, and what is left of it. When it works, a player understands the story of the place before reading a single line of text: where the fighting was, where people still live, which streets are blocked and where it is dangerous to walk. When it does not work, the map looks like a pile of grey rubble with no shape. This guide walks through building a ruined district in isometric pixel art, step by step, from the street plan to the lights at night.
Start with the city that was there
The most common mistake is to start with the damage. Ruins only read as ruins when the player can still see the order underneath: straight roads, blocks of buildings, pavements with a kerb, a crossroads, a park. So plan the map as if it were an ordinary city first. Lay out the roads, decide which blocks hold tall buildings and which hold low ones, and leave open spaces such as a square or a car park.
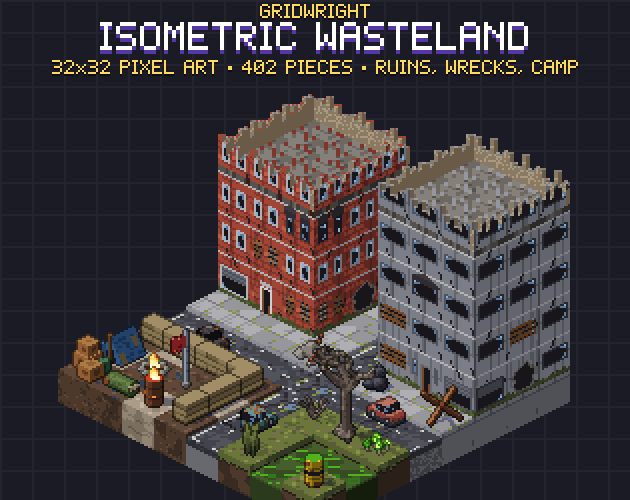
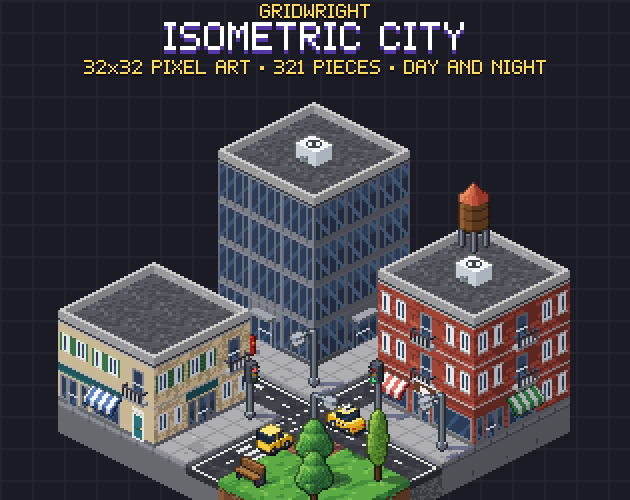
Then break it on purpose. A good rule of thumb is that most of the city should still be recognisable, and the damage should be concentrated where something happened. If you already use an intact city set, keep it: our Isometric Wasteland pack sits on the same 32x16 grid and the same 20 px storey height as Isometric City, so an untouched street can turn into a ruined one block by block. If isometric is new to you, Isometric Pixel Art Games: Getting Started covers the grid itself.
Ruin buildings with a few rules
Ruined buildings look random, but the good ones follow rules. A building that was hit hard is damaged at the top and on the side that faces the street; the ground floor is where people boarded things up. Some ideas that keep a block readable:
- Build the building first, then decide its story: a fire, a collapse, a siege, or just years of nobody looking after it.
- Keep the ground floor mostly intact: broken shop windows, boarded windows and an open doorway tell the player they can get in.
- Put burn marks above windows on one or two floors only, stacked over each other, so the fire has a shape.
- Use holes in the wall on the side that faces the action, not everywhere.
- End some buildings in a broken top instead of a roof: jagged walls along the outside with rubble inside. One ruined top on a block of intact roofs is more striking than a whole block of rubble.
This is easier with a storey kit than with fixed building sprites, because the damage can change floor by floor. In the Wasteland pack each facade (red brick, cream stucco, grey concrete and a glass office) has ground floors with broken windows, boarded windows, a broken door or a hole on either side and a smashed shop front, and upper floors that are broken, boarded, burned, holed or blank. The broken tops and the dirty roofs join with their neighbours, so a ruin can be any size.
Let the ground tell the story
The ground is where most of the time passes in a ruined city. Roads should still look like roads, only older: cracked asphalt, road markings that have faded and flaked, potholes and puddles. Pavements crack along their joints and grow weeds. Where a building collapsed, rubble spills across the pavement and into the road. Where nobody walks any more, dead grass takes over the lawns and the edges of the street.
Two things help a lot here. First, keep the road a little lower than the pavement, so the kerb still shows; it keeps the street plan readable even under heavy damage. Second, use flat ground details (cracks, stains, scattered debris, dead leaves) on top of ordinary blocks instead of making every block look destroyed. A few details on clean ground read better than damage on every tile.
Put wrecks where they tell you something
Abandoned cars are the fastest way to say that something went wrong, but a car on every cell is just noise. Place wrecks where they explain the map:
- A bus or a truck across a road blocks a route and makes the player go round.
- A few wrecks bunched at a crossroads read as an accident or a panic.
- A police car and road barriers together read as a checkpoint that failed.
- Burned-out shells near scorched ground show where the fighting was.
- An ambulance near a large building hints that people were taken there.
Turn wrecks to follow the lanes they died in, and vary their direction. A wreck facing the wrong way is a small surprise that makes a scene feel real. In the Wasteland pack every wreck is drawn in 4 directions and never mirrored, so the light stays on the same side whichever way a car faces.
Build a survivor base that reads at a glance
Most survival games have a safe place, and the player should find it on the map without a marker. Survivor bases look built by hand from what was lying around, so they should look different from the old city: scrap sheets, sandbags and barbed wire instead of brick and glass. Make the wall a closed shape with one or two gates that face a road, put a watchtower at a corner where it can see the streets, and fill the inside with the things people need to live: tents or a shack, a campfire, water barrels, a generator, a garden bed, crates.
Walls that join by themselves save a lot of time here. In the pack the scrap, sandbag and barbed-wire walls each come in 16 pieces, one for every combination of neighbours, so you draw the line of the wall and every corner and end is the right piece.
Mark the danger zones
A ruined map needs places the player should avoid, and they should be visible from far away. A pool of toxic sludge with leaking drums beside it, dead and burnt trees, scorched ground and glowing mushrooms all say stay away without words. Keep danger zones in a different colour from the rest of the map; in a map that is mostly grey and brown, a sick green or a fire orange is impossible to miss.
This is also where your enemies belong. Zombies and monsters standing on the edge of a sludge pool or between two wrecks look like part of the place. Our Isometric Monsters and Isometric Character Creator packs use the same grid for the zombies and the survivors.
Use night as gameplay
Night is where a post-apocalyptic map comes alive. With the city dark, every light means something: a campfire or a burning barrel shows where survivors are, a boarded window with light behind its planks shows that someone lives in that ruin, and glowing toxic waste marks the danger zones. If your lights use their own colours, a simple night shader can darken everything else and keep the lights bright. The Wasteland pack's fires, toxic sludge and boarded windows are made that way, so the same map works by day and by night.
A checklist for your ruined district
- A street plan that still reads: straight roads, blocks, a kerb, open spaces.
- Damage concentrated where something happened, not spread evenly.
- Buildings with a story: boarded ground floors, burn marks stacked on one side, a few broken tops.
- Old roads: cracks, faded markings, potholes, rubble spilling from collapsed buildings.
- Wrecks that block routes or explain events, facing different ways.
- A survivor base with a closed wall, a gate to the road, a lookout and signs of life.
- Danger zones in a colour of their own.
- Lights that mean something at night.
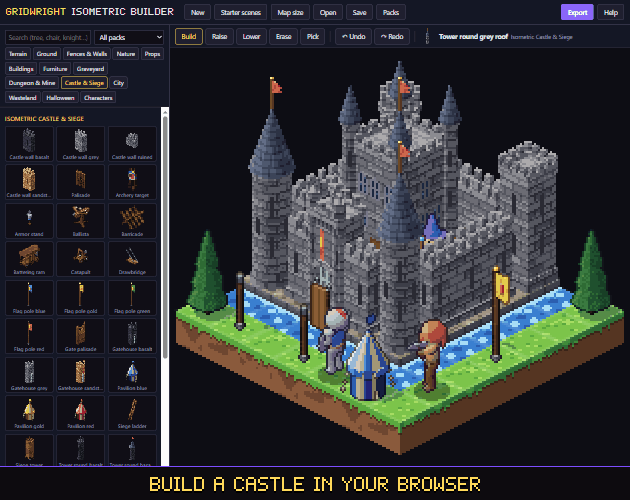
You can sketch the whole district before writing any code: the Isometric Builder has the Wasteland pieces inside, joins walls, roofs and roads by itself, switches to night, and exports the scene to Godot or Tiled.
Gridwright packs can be used in commercial games; you may not resell the files themselves. Packs released from October 28, 2026 ask for a credit: “Art by Gridwright” with a link (each pack’s LICENSE.txt says which applies). The details are in Can I Use Game Assets in a Commercial Game?.