A horror visual novel lives on faces. The scene can be a dark hallway and a single line of text, but the moment the player sees the narrator's eyes go wide, the dread lands. In Ren'Py the simplest way to put a face next to every line is a side image: a small portrait that appears in the dialogue box beside the speaker's words. This guide covers how side images work, how to name the files so Ren'Py defines them for you, which expressions a horror cast really needs, and how to keep pixel art portraits sharp.
What a side image is
A side image is an image tagged with the word side, followed by the character's image tag and its attributes. When a character with that image tag speaks, Ren'Py looks for a side image whose attributes match and shows it in the say screen. The default screens.rpy already contains the line that draws it, so a new project needs no screen changes at all: you define the character, add the images, and write dialogue.
The link between a character and its side images is the image argument of Character. If you write a character with image set to detective, then every side image whose name starts with side detective belongs to that character. The attributes after the tag, such as scared or crying, choose which one is shown.
Name the files and Ren'Py defines them
You do not have to write an image statement for every portrait. Ren'Py scans the images folder inside game, including its subfolders, and defines an image for each file from the file name: the name is lowercased and split at the spaces. A file called side detective scared.png becomes the image side detective scared. That means a cast of 30 characters with 8 expressions each is 240 files and zero lines of image code.
- Put the files in game/images or any folder inside it, for example game/images/side.
- Name each file side, then the character's tag, then the expression, separated by spaces.
- Keep tags short and without spaces: possessed_girl works, possessed girl would split into two words.
- Define the character once: Character("Detective", image="detective").
- Write dialogue with the expression in front of the line: detective scared followed by the text in quotes.
From then on the attribute sticks: if the next line has no attribute, the last one is kept, so you only write the expression when it changes. That keeps a long script readable, which matters when a scene builds slowly from neutral to terrified over twenty lines.
The expressions a horror cast needs
A cozy visual novel can live with happy, sad and surprised. Horror needs a different set, because the story moves along a scale of fear, and the antagonists need faces that are wrong on purpose. A practical set of eight covers almost every scene.
- Neutral: the default, for exposition and calm moments before things go bad.
- Scared: the first sign that something is off, wide eyes and a nervous mouth.
- Terrified: the scream, tiny pupils and an open mouth, for the moment the monster appears.
- Crying: tears for loss, guilt or giving up.
- Angry: survivors turning on each other, a staple of the genre.
- Creepy smile: for antagonists, or for a friend who is no longer quite themselves.
- Possessed: black eyes with a glow, the clearest signal that the character is not in control.
- Hurt: a cut and a little blood, after an attack, without turning the game into gore.
Plan the antagonists with the same eight. A ghost bride who can look scared or cry becomes a far more interesting character than one who only ever grins, and the player will remember the scene where the monster looked afraid.
Turning a character over time
One of the strongest tools in horror is watching someone change. If a companion is bitten in chapter two, the player should see it before anyone says it: paler skin, yellowed eyes, veins at the temples, then the final grey-green turn with dead eyes and torn, bloodied clothes. In Ren'Py the easiest way is to give each stage its own image tag, such as student, student_infected and student_turned, and switch the character's image tag in the story, or define three characters that share a display name. Each stage keeps the full set of expressions, so the infected student can still cry and the turned one can still look angry.
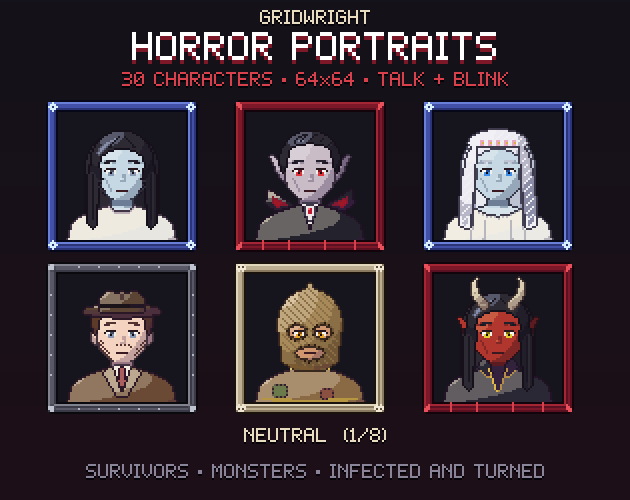
Our Gridwright Horror Portraits ship that sequence for three survivors, the student, the nurse and the groundskeeper, alongside 24 more characters, and the layer kit has the sick and corpse skins, milky eyes, veins, bites and torn outfits to turn any character you build yourself.
Talking and blinking
A still side image already does most of the work. If you want the portrait to move, use a short animation for the talking frames and a blink every few seconds: loop two mouth shapes while the text types out, then hold the closed mouth, and show a blink frame for about a tenth of a second every three to five seconds. Ren'Py's ATL can play those frames as one image, and the same frames work in any engine that plays a sprite sheet.
Keep pixel art portraits sharp
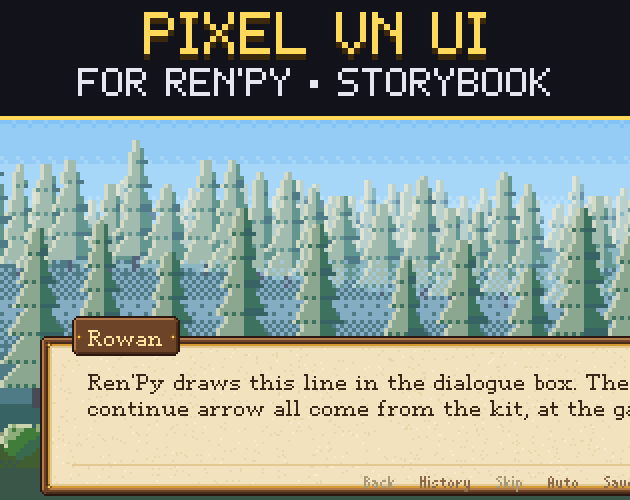
Pixel art blurs the moment the engine smooths it. Draw the portrait on a small grid, such as 64x64, and scale it only by whole numbers: 2x for a 1280x720 game and 3x for a 1920x1080 game gives 128 and 192 pixel side images with every pixel square. Turn on nearest-neighbour filtering in Ren'Py with config.nearest_neighbor set to True, and keep the side-image box the same scale as the rest of your interface. Our Pixel VN UI uses that grid, and its side-image socket takes a 64x64 portrait at 2x or 3x; the Pixel Art GUI for Ren'Py guide explains the sizes and 9-slice borders.
Frames, boxes and backgrounds
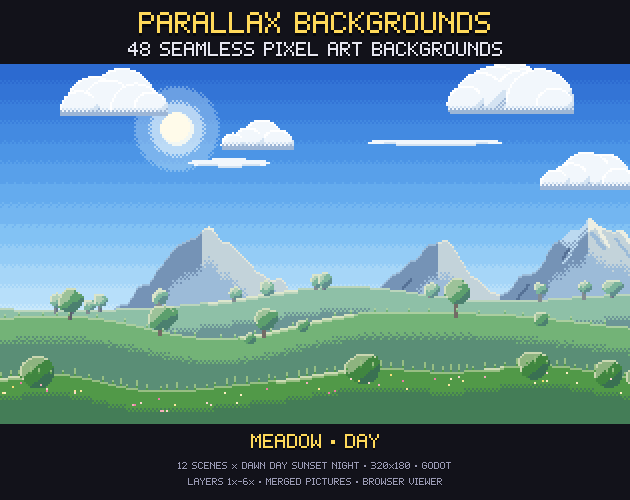
A dark frame around the portrait does a lot for the mood: iron for a police procedural, bone for a cult story, a spectral blue for ghosts. Behind the dialogue box, a night scene with a slow parallax scroll keeps the screen alive while the player reads. The haunted manor in Parallax Backgrounds is built for that kind of background, and the Halloween pixel art guide lists more pieces for a spooky setting.
A short checklist
- One image tag per character, set in Character with image.
- Files named side, tag, expression, inside game/images.
- Eight expressions per character, antagonists included.
- Separate tags for each stage of a transformation.
- Whole-number scaling and nearest-neighbour filtering.
- Run Ren'Py's lint before release: it catches typos in names and labels.
If you would rather start with a cast than draw one, Gridwright Horror Portraits has 30 characters in these eight expressions, side images at 720p and 1080p named for Ren'Py, and a .rpy file that defines every character. For a lighter story, Pixel Portraits covers fantasy, sci-fi and modern casts in the same style.
Gridwright packs can be used in commercial games; you may not resell the files themselves. Packs released from October 28, 2026 ask for a credit: “Art by Gridwright” with a link (each pack’s LICENSE.txt says which applies). More on that in Can I use game assets in a commercial game?.