In a zombie or post-apocalyptic game the base is where the player spends the quiet minutes between fights. It is where they sleep, craft, store loot and decide where to go next, so it has to read clearly at a glance and still feel improvised. This guide covers how to lay out a survivor base in isometric pixel art: which rooms it needs, how to keep walls from hiding the action, which props tell the player what each room does, and how loot fits in.
Start from what the player does in the base
List the actions first, then give each one a place. Most survival games come down to the same handful: rest, craft, store, cook, heal, plan and defend. Each of those becomes a room or a corner with one obvious object the player can click.
- Rest: bunk beds, mattresses or sleeping bags.
- Craft: a workbench or crafting table, with tools on the wall behind it.
- Store: shelves, lockers, crates and drums.
- Cook and drink: a stove, a water filter, a rain barrel outside.
- Heal: a cot and a medicine cabinet.
- Plan: a radio and a map with pins on the wall.
- Defend: barricades at the doors, sandbags at the gaps.
If each action has one clear object, the player learns the base in a minute and can find things without reading labels.
Isometric walls: full at the back, cut-away at the front
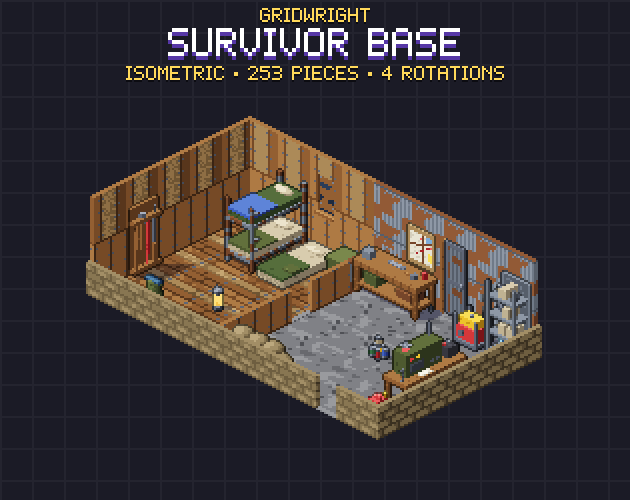
The classic problem with isometric interiors is that walls in front of a room hide the room. The usual answer is two heights: full walls on the back edges of a room (the edges furthest from the camera) and low, cut-away walls on the front edges. The player sees into every room and still reads where the walls are. In Gridwright Isometric Survivor Base every wall finish comes in both heights, with corners where a full wall meets a low one, doorways and boarded windows. If you are new to the grid itself, our guide to isometric tilemaps in Godot 4 covers the cell size, Y sort and the texture origin.
Let the materials tell the story
A survivor base is built from whatever was at hand, and the walls should show it. Mixing finishes room by room does that without a word of text: plywood patches in the sleeping room, corrugated metal in the workshop, sandbags where the base faces the street, old brick where the survivors took over an existing building. Keep one finish per room so each room still reads as one space, and let the change of material mark the doors between them.
Floors work the same way: salvaged planks where people sleep, concrete in the workshop, tarp sheets over a broken floor, metal plates by the stores. Three variants of each floor, mixed at random, keep large rooms from looking like a grid.
Props that move make the base feel alive
A base with nothing moving looks abandoned. A few small animations make it feel lived in: a generator that shakes and puffs smoke, a radio whose lights blink, a stove with fire behind its door, a lantern that flickers. They also act as hints, because a running generator says the base has power and a blinking radio says there is a message to hear.
Keep animations to a few frames and play them at different speeds so they do not pulse together. In an isometric game, make sure each animated prop is drawn for every facing you use: a light on the front of a radio does nothing for a player who sees it from behind.
Light sources matter at night too. A burning barrel by the door, lanterns on the tables and the glow of the stove give the base a warm centre against the dark streets outside, and they show the player where the safe area ends. If your game has a night cycle, place lights first and furniture second, so the important objects sit in the light.
Loot: small, readable and in the right places
Loot needs to be recognisable at a small size, so give each kind a clear silhouette and one strong colour: a red fuel can, blue water drums, a white med kit, an olive backpack, a toolbox. Place loot where it makes sense instead of scattering it: cans on the supply shelf and the camp table, batteries by the radio, fuel by the generator, med kits in the medical corner. Players then learn where to look in the ruins outside too.
- One strong colour per kind of loot.
- Loot near the object that uses it.
- A little clutter on the floor, not a carpet of it.
- The same loot sprites inside the base and out in the world.
The base and the world outside
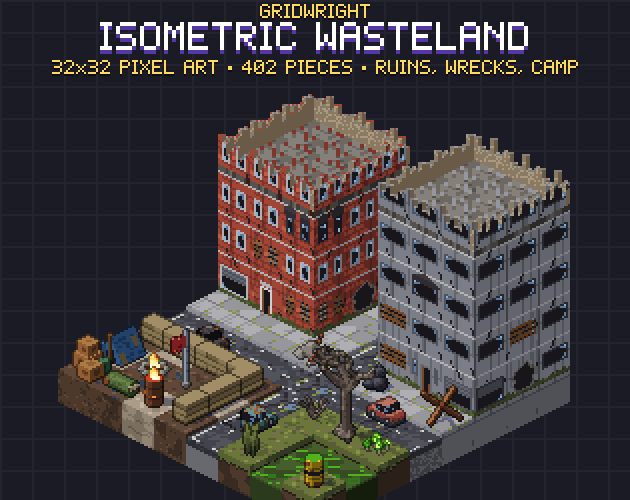
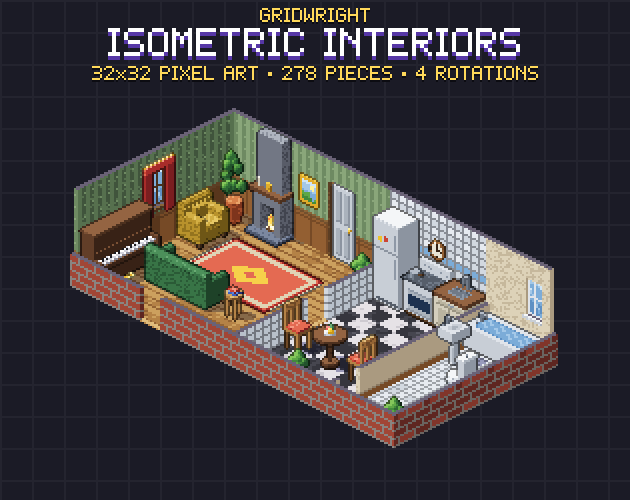
The base is most convincing when it clearly belongs to the world around it. Use the same grid and the same light for the ruins outside, and repeat materials: sandbags and corrugated sheets that guard the base can also be the barricades in the streets. Our Isometric Wasteland has the ruined city, wrecks and a survivor camp on the same grid, and the wall kit is shared with Isometric Interiors for the houses that are still standing. Our walkthrough of a post-apocalyptic isometric map covers the outside.
Try the layout before you code it
Sketch the base as cells first: rooms as rectangles, doors as gaps, the one key object of each room in place. Then check the walk from the bed to the workbench to the door, because the player will make that trip many times. A map maker that already knows the grid, like our Isometric Builder, lets you try layouts with the real sprites before any code exists.
A quick checklist
- Every action has one obvious object.
- Full walls at the back, cut-away walls at the front.
- One wall finish per room, a change of material at each door.
- A few animated props, at different speeds, drawn for every facing.
- Loot with clear colours, placed where it is used.
- The base uses the same grid and light as the world outside.
All Gridwright packs can be used in commercial games; you may not resell the files themselves, and packs released from October 28, 2026 on, this one included, ask for a credit: "Art by Gridwright" with a link. More in can I use game assets in a commercial game.