Godot 4 draws isometric maps with the same TileMapLayer node it uses for square tiles. The hard part is the settings. Tile shape, layout, tile size, region size, Texture Origin and Y sort all have to agree with how your art was drawn, and one wrong number makes blocks float, sink into the ground or draw in the wrong order. This guide goes through each setting for a 32x16 diamond grid, the most common size for isometric pixel art, with the numbers checked in Godot 4.7.
Use TileMapLayer, not TileMap
The old TileMap node is deprecated in current Godot 4 releases. Its replacement, TileMapLayer, holds one layer of tiles, and you use as many of them as you need. Create a TileMapLayer, select it and create a new TileSet resource in the Inspector. The TileSet holds the grid settings, and every TileMapLayer that shares it uses the same grid, which is what you want for ground, walls and props that must line up.
Step 1: the grid settings
Open the TileSet in the Inspector and set these before you add any art:
- Tile Shape: Isometric. Godot's docs call it the diamond tile shape.
- Tile Layout: Diamond Down or Diamond Right. With Diamond Down the map's x axis runs down and to the right and its y axis down and to the left, so cell coordinates follow the edges of the diamonds. The default, Stacked, keeps rows horizontal and gives a zigzag of staggered rows, which is a different kind of isometric map.
- Tile Size: 32 x 16 for a 32x16 grid. Godot measures the tile size as the rectangle around the diamond, so it is the full width and height of the ground diamond, not the length of one edge.
Set the tile size first. When Godot creates the tiles of a new atlas for you, it uses the size that is set at that moment, and fixing it afterwards means cutting the atlas again.
Step 2: tall sprites and the Texture Region Size
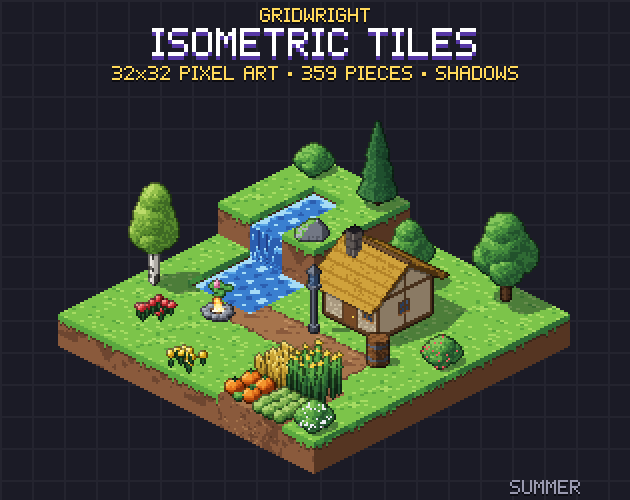
Only a flat floor tile is exactly 32x16. Anything with sides is taller. In our Isometric Tiles a block is 16 pixels tall, so its sprite is 32x32; a lamp post is 32x48 and a pine tree 32x64. Add a sheet or a single PNG as an atlas source and set its Texture Region Size to the size of the pieces in it. Each atlas has one region size, so pieces of different heights are easiest as separate atlas sources: one for floors, one for blocks, one per size of tall prop.
Godot centres every tile picture on its cell. A 32x32 block on a 32x16 cell therefore sticks out 8 pixels above the cell and 8 below it, which is almost never where it belongs. That is what Texture Origin is for.
Step 3: Texture Origin, the number that makes tiles sit right
Texture Origin is set per tile in the TileSet editor: select the tile and find it under Rendering. It moves the picture away from the cell centre. A positive Y moves the picture up and a negative Y moves it down. We checked the direction in Godot 4.7 by drawing the same block with an origin of 0 and of 8 and measuring the result: with 8 it was drawn exactly 8 pixels higher.
If your art comes with an anchor point, the pixel of the picture that should sit on the back corner of the cell (the top point of the ground diamond), you can work out the origin instead of nudging it by eye:
- Texture Origin X = anchor x minus half the picture width.
- Texture Origin Y = anchor y plus half the cell height minus half the picture height.
Our isometric packs give every sprite its anchor in isometric.json. On a 32x16 cell that works out as follows, and these are the values we measured in Godot:
- Floor tile, 32x16, anchor (16, 0): origin (0, 0). Flat tiles need nothing.
- Block, 32x32, anchor (16, 16): origin (0, 8). The bottom of the block sits on the cell and its top face is one block higher.
- Lamp post, 32x48, anchor (16, 32): origin (0, 16).
- Pine tree, 32x64, anchor (16, 48): origin (0, 24).
If you would rather have the top face of a ground block on the cell, so that a mouse click picks the face the player sees, subtract the block height: an origin of (0, -8) for our blocks. At 2x or 3x, multiply the cell, the picture and the anchor by the same factor and the origins scale with them.
Step 4: Y sort, so things stand in front of each other
An isometric map needs drawing by depth: a tree on a cell nearer the camera must cover the house behind it, and a character walking behind a wall must disappear behind it. Godot does this with Y sort. Its docs say an isometric TileSet works best when all sibling TileMapLayers and their parent Node2D have Y Sort Enabled, which you find under CanvasItem > Ordering.
- Keep a flat ground layer outside the Y-sorted group, above it in the scene tree, so it always draws first.
- Put the layers for walls, props and trees and your character nodes under one Node2D with Y Sort Enabled, and switch Y Sort Enabled on for each of those TileMapLayers too.
- Put each character's origin at its feet. Y sort compares node positions, so move the sprite with its Offset until the feet are on the node's origin.
- If one tile sorts at the wrong moment, for example a wide piece that should count as its front cell, change its Y Sort Origin in the TileSet editor.
With Y sort switched on, a TileMapLayer no longer draws in rendering quadrants; Godot groups its tiles by their Y position instead. That is expected and not a bug.
Step 5: heights with more layers
A TileMapLayer holds one tile per cell, so stacked blocks need one layer per height. A common setup is layer 0 at height 0, layer 1 moved up by one block height (16 pixels for our blocks), layer 2 moved up by 32, and so on. Moving a layer up also moves its tiles earlier in the sort, so give each raised layer a Y Sort Origin equal to the distance you moved it. Godot adds the layer's Y Sort Origin to every tile on it, and its docs name faking a different height level as the reason that setting exists. Walk a character around a stack two blocks high before you build the whole map, because sorting mistakes are easier to see there than on a finished level.
Step 6: crisp pixels
Pixel art needs nearest filtering or every edge turns soft. Set Project Settings > Rendering > Textures > Canvas Textures > Default Texture Filter to Nearest, or set Texture Filter on the TileMapLayer itself. The rest of the import checklist is in importing pixel art sprite sheets into Godot 4.
Mouse clicks and map coordinates
To find the cell under the mouse, take get_local_mouse_position() on the layer and pass it to local_to_map. To place something on a cell, map_to_local gives the centre of that cell. Godot's docs warn that this centre may not match where a tile is drawn, and with tall tiles it often will not: either pick by the ground cell and then by height, or keep the top face of the ground on the cell as described in step 3.
Skip placing every tile by hand
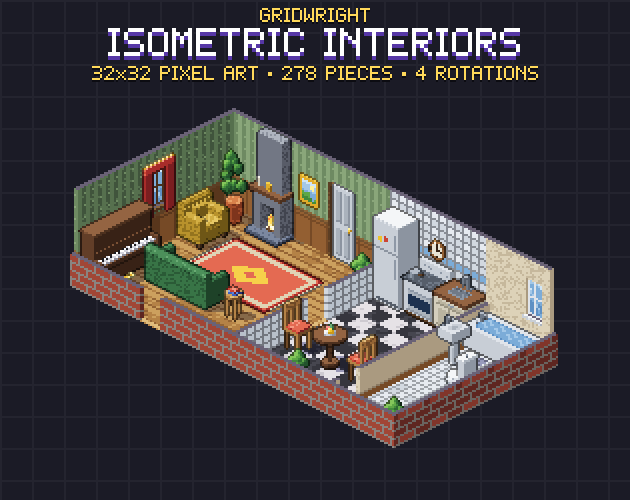
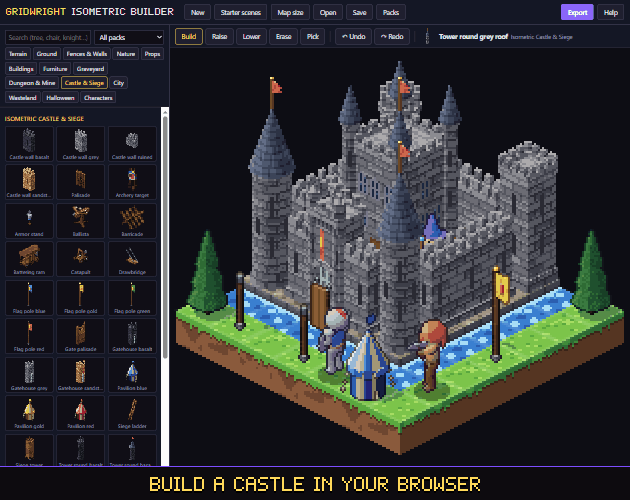
Painting a large map tile by tile in the editor is slow. Our Isometric Builder runs in the browser with every piece of our 14 isometric packs, stacks blocks to real heights in the right drawing order and exports a ready Godot 4 scene with the sprites, tested in Godot 4.7. Rooms come from Isometric Interiors, with full and cut-away walls and furniture in 4 rotations on the same 32x16 grid. The Isometric Halloween Mini Pack is on that grid too, so you can try these settings with real art.
New to isometric games? Start with getting started with isometric pixel art games and isometric vs top-down.
Gridwright packs can be used in commercial games; you may not resell the files themselves. Packs released from October 28, 2026 ask for a credit: “Art by Gridwright” with a link (each pack’s LICENSE.txt says which applies). Details: can I use game assets in a commercial game.