A converter can turn a 3D render, a painting or a photo into pixel art in a second. Whether the result looks like pixel art or like a blurry thumbnail depends on five decisions: the grid, the palette, dithering, transparency and the clean-up afterwards. This guide goes through each one, with settings that work for sprites, backgrounds and animations, and shows how to bring the result into Godot 4 without undoing the work.
Why simple shrinking fails
Shrinking a picture in an image editor averages the pixels in each block. Every edge gets a band of in-between colours, outlines dissolve into soft grey, and a sprite that should have a handful of colours ends up with hundreds. Pixel art works the other way round: every pixel is a choice, the colours are few, and edges are hard. A good conversion therefore picks colours instead of averaging them.
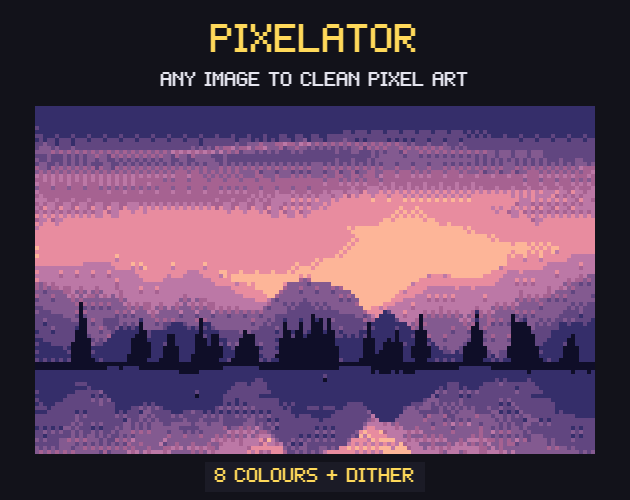
Our Pixelator has a Sharp mode for exactly this. It keeps the most common colour in each cell of the grid, so an edge stays an edge and a dark outline stays dark.
Step 1: choose the grid
Decide the size of the result before anything else, because it sets how much detail survives. In the Pixelator you set it as a width in pixels or as how many source pixels make one art pixel. A sprite meant to stand next to 16x16 tiles should come out at a size that fits that grid; our post on 16x16 vs 32x32 vs 48x48 pixel art covers which size suits which game.
Crop first. Empty space around the subject still takes grid cells, and a tight crop gives the subject more of them. For a render, set up the camera so the subject fills the frame and has a clear silhouette: a dark figure on a dark background turns into one blob at small sizes, while the same figure against a light background keeps its shape.
Step 2: pick the palette
The palette does more for the final look than any other setting. There are three ways in:
- Automatic: the converter picks 2 to 64 colours from the picture. The Pixelator picks them in a perceptual colour space, so the colours it keeps are ones the eye sees as different.
- Built-in: one of its 10 ready palettes, for a fixed retro look.
- Your own: a .hex, .gpl, .pal, .txt or .png palette. This is the one to use when the result has to sit next to art you already have.
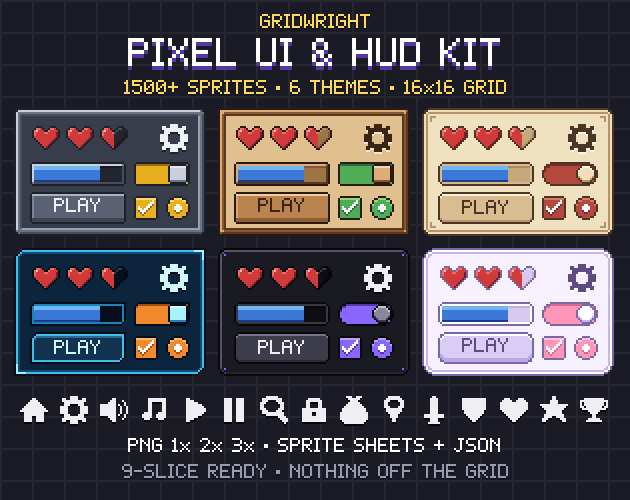
That last case matters most in a real game. If your tiles and interface come from one pack, load that pack's palette and every converted sprite will share its colours. The Pixel UI Kit ships a palette for each of its six themes as .hex and .gpl files, ready to load. If you only have the art, the Color Palette Extractor lists every colour of a sprite or tileset with how many pixels use it, and saves the palette as .hex or .gpl.
Fewer colours usually look better than you expect. Start with a small palette, raise the count only where a gradient breaks into ugly bands, and make sure a dark outline colour and a bright highlight are in the set.
Step 3: dither, or leave it out
Dithering mixes two palette colours in a pattern to suggest a third. It rescues gradients such as skies, metal and skin, and it costs clarity on small sprites, where a checker pattern reads as noise. The two families behave differently:
- Ordered dithering (2x2, 4x4 and 8x8 in the Pixelator) lays a regular pattern. It looks deliberate, tiles cleanly and is the classic retro look.
- Error diffusion (Floyd-Steinberg and Atkinson) spreads each pixel's colour error to its neighbours. It keeps more detail from photos, but leaves scattered single pixels that crawl when an animation plays.
Use the strength slider. Light dithering on a background often looks better than full dithering anywhere. For characters and anything that moves, start with dithering off and add it only to the large smooth areas.
Step 4: hard transparency and outlines
Game sprites need every pixel fully solid or fully clear. Half-transparent pixels on the edge come from anti-aliasing in the source and show as a light or dark fringe against the game's background. The Pixelator removes them, deletes lone pixels and can draw an outline outside or inside the shape.
If your source has a flat white background, the Pixel Art Background Remover clears it from the edges inward, so white eyes and highlights inside the sprite stay, and it cleans the light halo around the outline. Many files can go through at once.
Step 5: animations share one palette
Convert each frame of an animation on its own and each frame gets a slightly different palette, so colours flicker as it plays. Open all the frames together instead. The Pixelator gives every frame one shared palette, splits a GIF into frames, and saves the result as single PNGs from 1x to 8x, as one sprite sheet with a JSON map, or as a GIF again.
The clean-up a converter leaves to you
A conversion is a strong first draft. Plan some hand work in your pixel editor for every sprite: fix the eyes and the hands, which small sizes always damage; straighten outlines that came out jagged; remove stray pixels the dithering left; and check the silhouette at 1x instead of zoomed in. The Pixelator saves the palette for Aseprite, GIMP, Krita or Lospec, so your editor works with exactly the same colours.
Importing the result into Godot 4
Godot's guide to importing images says Lossless compression is the default for 2D assets and the recommended setting for pixel art, and that VRAM compression should be avoided for 2D because it shows noticeable artefacts, especially on low-resolution textures. Mipmaps should only be enabled in 2D if the project visibly benefits, for example with a camera that zooms far out; otherwise they only add memory.
Set the texture filter to Nearest so the pixels stay square. Godot sets the filter on CanvasItem nodes, each node inherits its parent's filter by default, and a project setting acts as the default for all of them, so one change in the project settings covers the whole game.
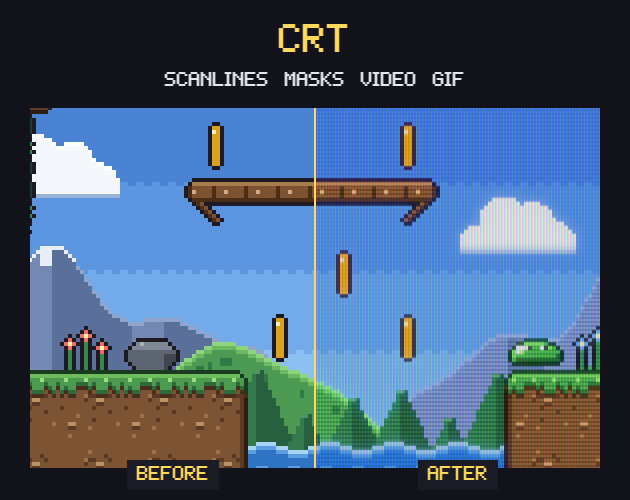
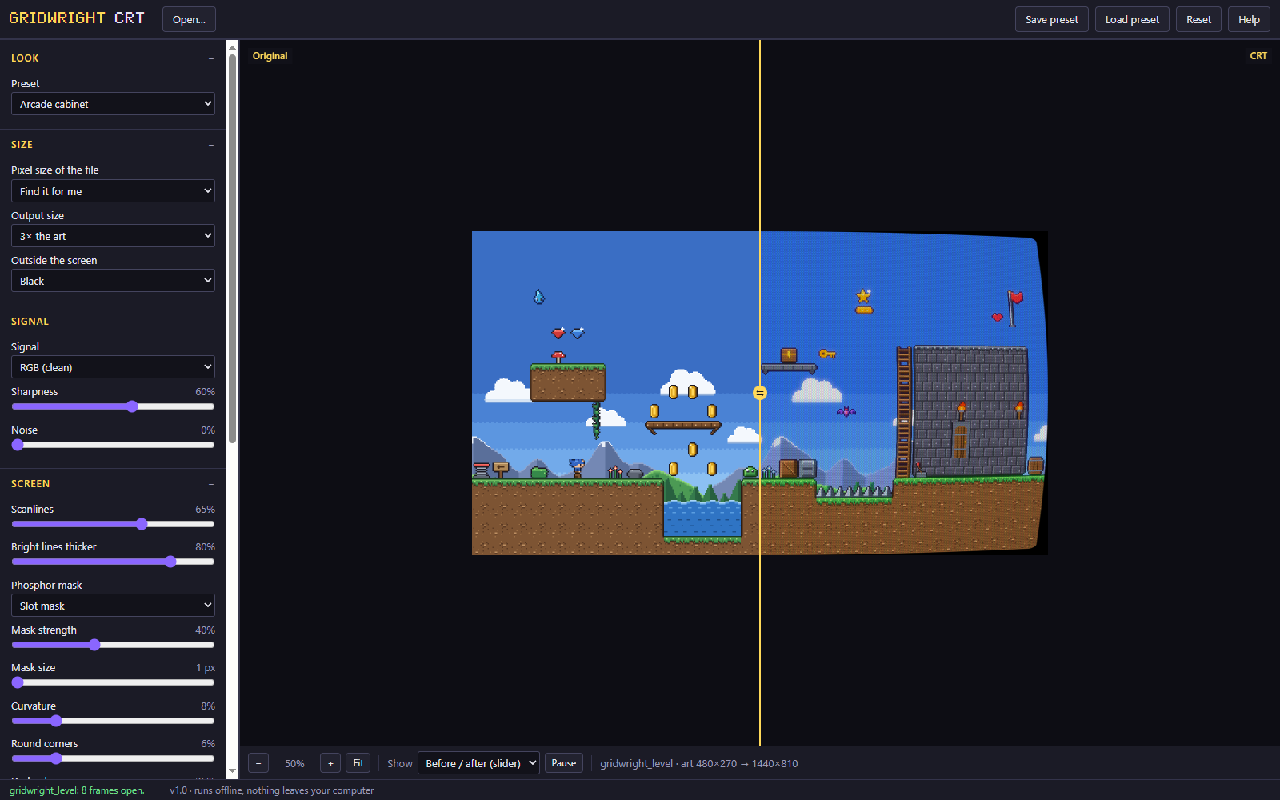
Before a trailer or a store page, the CRT Filter can show the converted art on a simulated old screen, with scanlines, a phosphor mask and a slight curve, which suits art that follows a console look.
A conversion checklist
- Crop tight and give the subject a clear silhouette.
- Set the grid to the size the sprite will have in the game.
- Load your game's palette, or keep the automatic one small.
- Dither backgrounds lightly; leave moving sprites clean.
- Hard transparency, lone pixels removed, an outline if the style uses one.
- All frames of an animation converted together.
- Hand clean-up at 1x, then Lossless and Nearest in Godot.
The Pixelator and the CRT Filter run in your browser, and your images never leave your computer. The Pixel UI Kit and its palettes are on Gridwright too, with a free sample to try first.
What you make with the Pixelator and the CRT Filter is yours to use in any game, commercial too. Only convert pictures you have the right to use: your own renders and paintings, or work whose licence allows it. Gridwright packs can be used in commercial games; you may not resell the files themselves. Packs released from October 28, 2026 ask for a credit: “Art by Gridwright” with a link. The Pixel UI Kit came out before that, so for it a credit is optional. More in can I use game assets in a commercial game.